


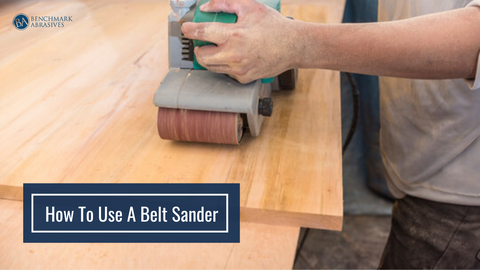
How to Use a Belt Sander: A Step-by-Step Guide
Sanding by hand is not an option when you have a lot of rough wood to repair. Even a power sander, such as a random orbital sander, can take a long time to complete a project. This is if the wood is too tough or complicated. Use a belt sander instead.
Sanding belts wrapped around the base of this powerful instrument remove even the toughest materials. The belts rip through the material because they rotate continuously, not randomly, like an orbital sander.
BELT SANDER: WHAT IS IT?
A belt sander is a power sanding instrument that quickly removes material using sandpaper belts of varying grits.
Selecting A Sandpaper Grit
Spend time selecting the appropriate grit sandpaper belt before applying a belt sander to your material. Use a higher grit, say 180, if you've never used the tool before to help you get the hang of it without removing too much material. Lower grits have a faster material digestion rate, which can damage your project.
After you get the hang of it, smoothing rough wood or removing thick finishes will be a snap with a coarser grit like 40, 80, or 100. To create the smoothest surface possible, follow each grit with a finer grit as you get about your business.
STEPS TO USE A BELT SANDER
STEP 1- INSTALL THE BELT
Release the tension lever, which is typically located on the side of the sander. Slide the belt onto the wheels to insert it into the sander. To lock the belt in place, move the lever back to the closed position.
STEP 2- LOCK THE MATERIAL
Belt sanders have a ton of power. To prevent the sander from launching the object you are sanding across the room, clamp it to your work surface.
STEP 3- START SANDING
Follow these procedures to sand the material after turning on and revving up the sander:
- Gently slide the belt onto the wood, starting at the back of the sander. As the sander comes into contact with the material, brace it and keep it steady.
- Use steady, deliberate strokes while tracing wood grain.
- Maintain even pressure on the sander; do not push too hard, or it may gouge the board. Let the sander handle the work instead.
- As you move from one location to another, keep the sander moving steadily and check the wood's surface.
STEP 4- WRAP IT UP
When done, gently remove the belt sander from the board. If there is a dust bag, check it before sanding. Remove the bag from the sander after it is full to empty it. Try replacing the new belt for belt sander if the old one isn't holding in position or no longer effectively eliminating material.
CONCLUSION
Use compressed air to completely dry out the belt sander after using it. Remove any removable covers from your tool if it has any so you can clean the insides. Put the tool in a dedicated case or toolbox, loosely wind the lead, and store it somewhere dry.
Join Our Newsletter
Sign up to get the latest on sales, new releases and more …Join Our Newsletter
Sign up to get the latest on sales, new releases and more …Shop Categories
Recent Articles
- 1X30 Sanding Belts for Metalworking & Knife Making
- Why Sanding Belts Stop Cutting Efficiently
- Best Sanding Discs for Automotive Paint Preparation
- How to Change Sandpaper on a Drum Sander
- Sanding Drums for Metal, Finishing, and Deburring
- Sanding Disc Accessories: Backing Pads & Disc Tools
- Random Orbital Sander
- Ways to Remove Rust from Metal
- Select the Right Sanding Belt for Your Next Project
- How Humidity Impacts Sanding Belts
Featured Products
-
 746 Reviews
4-1/2" x 7/8" T29 Zirconia High Density Flap Disc - 10 pack
$25.19
-
 738 Reviews
4-1/2" x .040 x 7/8" T1 Premium Thin Cut-off Wheel - 25 pack
$20.88
-
 220 Reviews
4-1/2" x 7/8" T27 Zirconia High Density Flap Disc - 10 pack
$25.19
-
 380 Reviews
6" x .045 x 7/8" T1 Premium Thin Cut-Off Wheel - 25 pack
$27.29
-
 123 Reviews
4-1/2" x 1/4" x 7/8" T27 Depressed Center Grinding Wheel - 25 pack
$28.34
-
 55 Reviews
Nonwoven 6" x 9" Scuff, Clean & Finish Hand Pads
$0.83


Blog Categories
- Abrasives
- Sanding
- Grinding Deburring Finishing
- Safety and Cleanliness
- Metal Working
- Selecting Tools And Equipment
- Wood Working
- Art And Design
- Diy Projects
- Industry 4.0
- Buffing
- Cutting Tools
- Carbide Burrs
- PPE
- Wire Brushes
- Bonded Abrasives
- TIG Electrodes
- Wire Wheels
- Bits
- Diamond Blades
- Power Brushes
- Product Reviews
- Grinding
- Finishing
- Industrial Cleaners